(Dave Parker and Nigel Gould
It all began in June 2011, at the end of another successful Durham Wargames Group Open Day. Nige, after having a year off from putting on a game at the show, was itching to have a go at another big project. It must have been post show euphoria but I foolishly agreed to help before we had even decided on the nature of the project.
Nevertheless, after a few moments thought, we swiftly came to the conclusion that we wanted to put on a World War One participation game, using Through the Mud and Blood by the Too Fat Lardies. I already had the figures, so all we would need would be some trench terrain. How hard could that be?
Introduction
It all began in June 2011, at the end of another successful Durham Wargames Group Open Day. Nige, after having a year off from putting on a game at the show, was itching to have a go at another big project. It must have been post show euphoria but I foolishly agreed to help before we’d even decided on the nature of ‘the project’.
Nevertheless, after a few moments thought, we swiftly came to the conclusion that we wanted to put on a World War One participation game, using ‘Through the Mud and Blood’ by the Too Fat Lardies. I already had the figures, so all we would need would be some trench terrain. How hard could that be?
From the beginning we set ourselves a list of design parameters. The terrain had to be modular (ideally in 2ft squares to fit in with club terrain) and fairly generic for maximum versatility. Crucially it needed to be relatively inexpensive but large enough so that, at the end of the project, it would break down into 2 useable halves, i.e. at the end of the day, we would both have our own set of trench boards.
Finally, from a design perspective, this would be useable wargames terrain and emphatically not a display model. That said, we were keen that the set up should reflect reality in as much that the trench system would be dug through a pre-existing landscape: hence, our incorporation of woods, roads and buildings.
Originally, we had intended to write a detailed description of how we built the terrain, but sadly, we ran out of time. Instead we have opted for more of a photo diary approach; hopefully the pictures speak for themselves. Of course, anyone interested is welcome to come along to our next show, on the 9th June 2012, and see the terrain first hand. We will be hosting several participation games and will be glad to welcome interested players.
As a starting point we looked at the superb terrain used by the Lardies themselves:
http://sidneyroundwood.blogspot.co.uk/2010/02/best-laid-plans.html
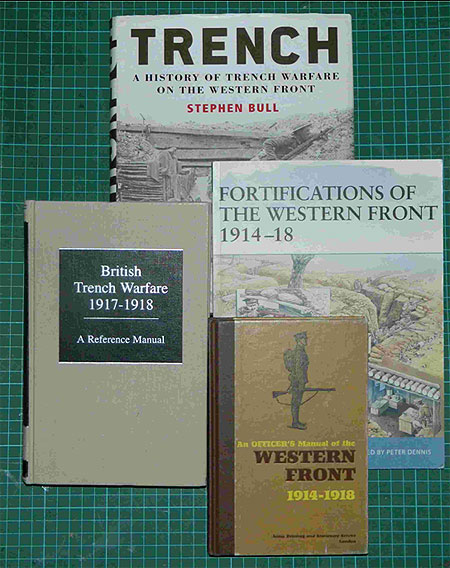
Whilst this gave us some ideas, we wanted to start from the basics and went back to the manuals (literally). Of the dozens of books we consulted the 4 shown were undoubtedly the most useful.
- An Officer’s Manual of the Western Front 1914-1918, Stephen Bull (ed.), Conway; 2008.
- Fortifications of the Western Front 1914-18, Paddy Griffith, Osprey, 2004
- Trench. A History of Trench Warfare on the Western Front, Stephen Bull, Osprey, 2010.
- British Trench Warfare 1917 – 1918. A Reference manual. Imperial War Museum, Facsimile edition 1997
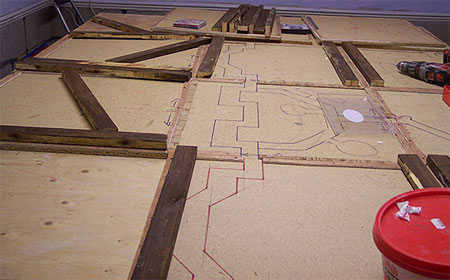
The raw materials for the base boards (2ft square chipboard).
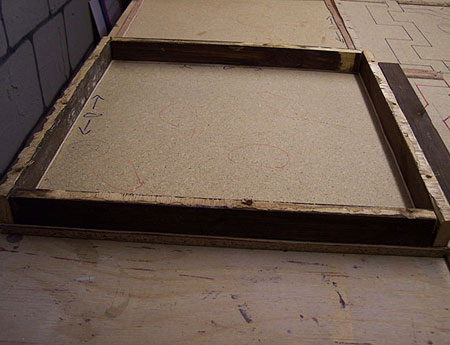
As we planned to build the trenches from inexpensive white polystyrene sheets, sold as insulation material, we needed to build a wooden frame to protect the edges.
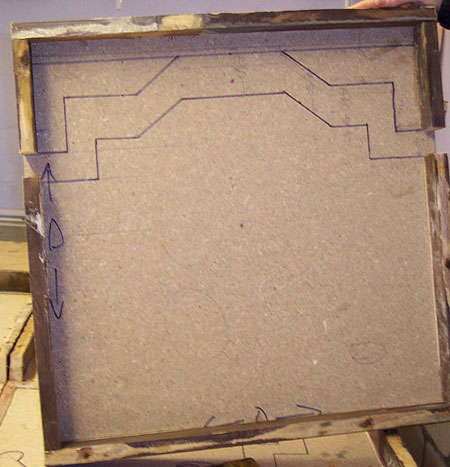
Framework with trench outline.
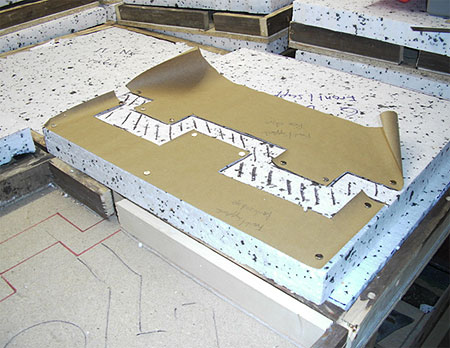
As many of the trenches would have the same trace, we created paper templates to help drawing out the trench outline.
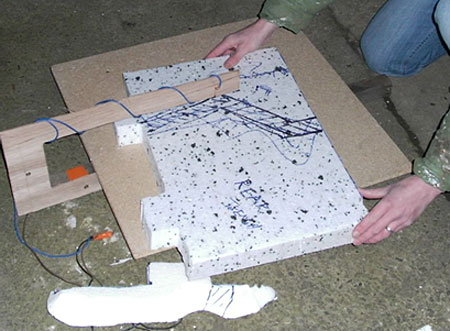
To cut out the polystyrene we built two hotwire tools. One handheld and one table mounted jig.
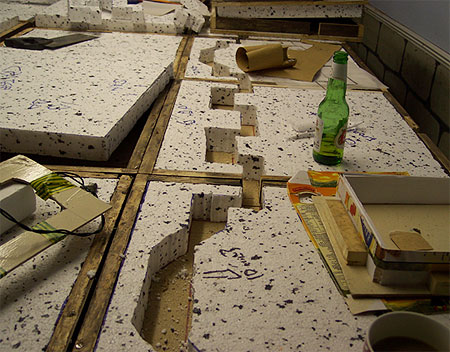
The first trench line.
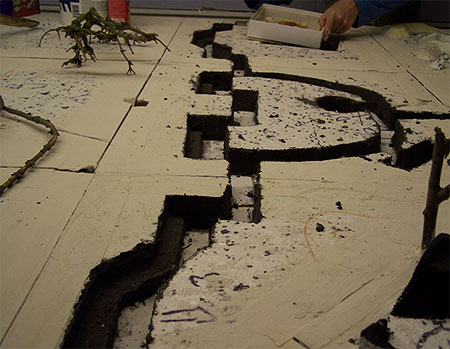
To protect the exposed edges of the polystyrene we lined the trenches with tile adhesive.
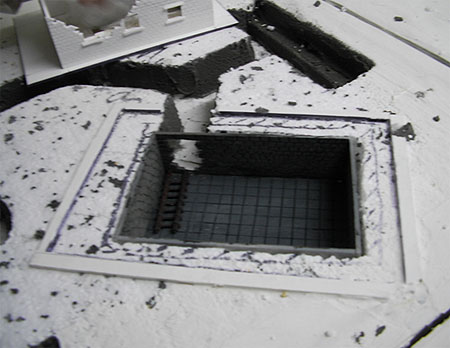
Two of the boards were designed as strong points. One a fortified wood and the other based on a small farm. Here we see the farmhouse cellar set into the polystyrene.
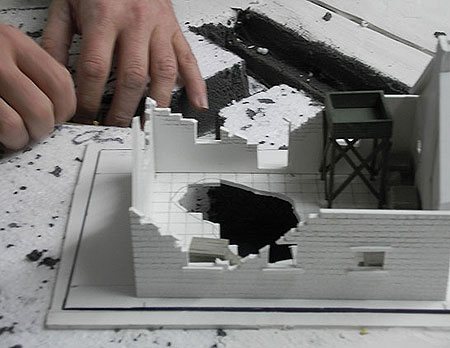
The farmhouse in place.
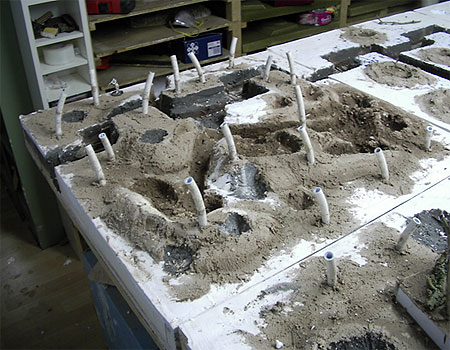
The fortified wood. Plastic pipes mark the eventual positions of the trees.
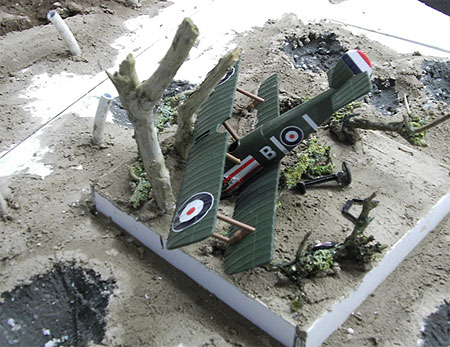
Two boards have inserts that are designed to lift out, so that a variety of terrain features can be added. This one incorporates a crashed plane.
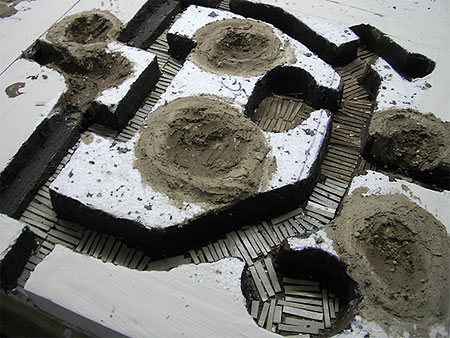
Duckboards, cut from strips of card were to the trench floors.
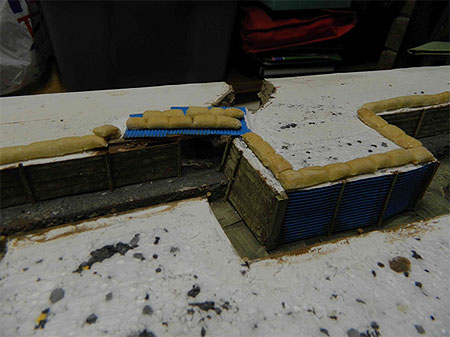
Revetments were cut from thin card and sandbags created from salt dough.
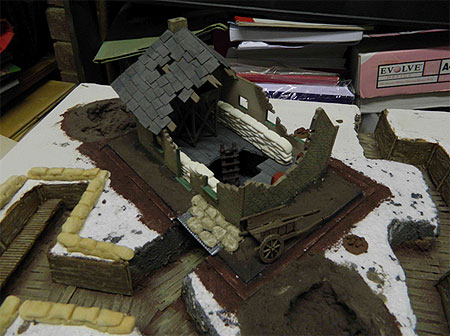
The farm takes shape: featuring a cart and rats from Irregular Miniatures.
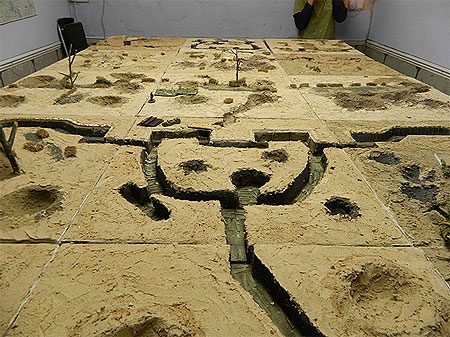
As a ground surface, we used plasterer’s bonding, mixed with PVA glue, to cover the boards.
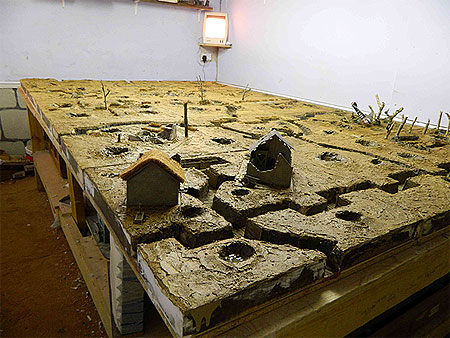
The bonding was then painted with clay coloured emulsion paint, followed by a dark wash (double espresso!).
Here we see the view from Mucky Farm.
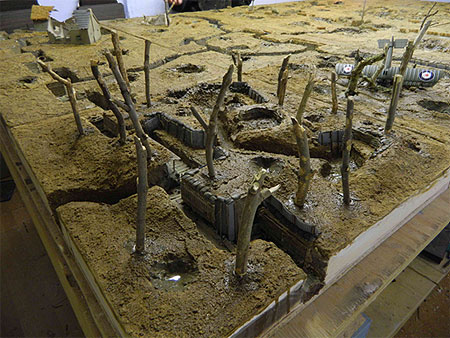
The view from Hindsight Wood.
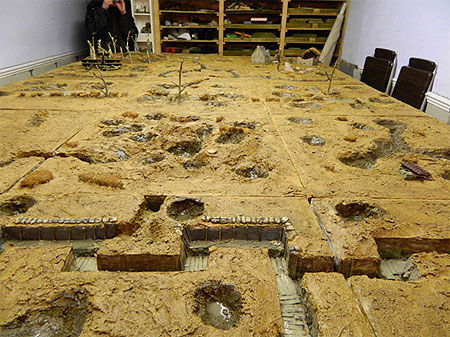
The view from the opposite lines.
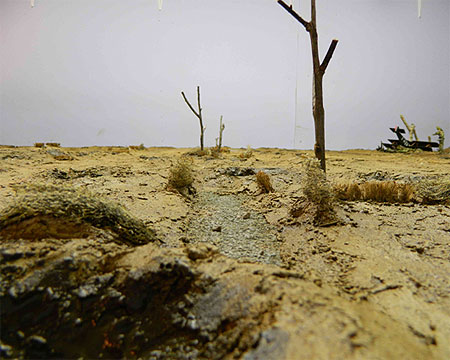
The view along ‘Old Kent Road’.
The road surface was created from roofing felt inlaid into the bonding.
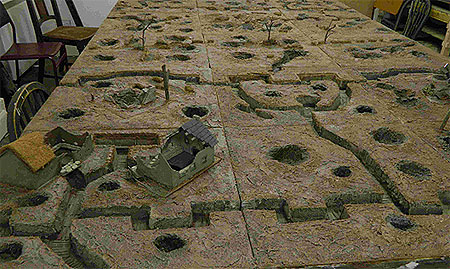
Several layers of drybrushing were added to the basic groundwork.
At this point the boards were looking good but rather dull. Furthermore, we found that our figures tended to ‘disappear’ amongst all that brown. Hence, we decided we needed to add green fields.
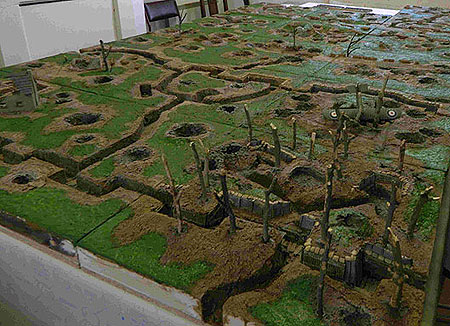
Interestingly, the Lardies faced the same dilemma with their own trench terrain:
Here we see the first layer of green paint.
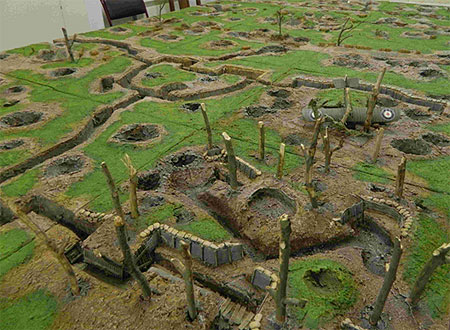
Several layers of drybrushing later and we were ready to go.
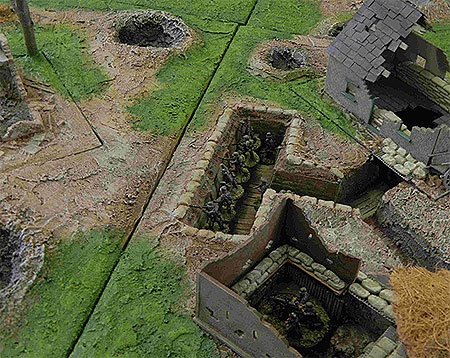
Here we see the German garrison of mucky Farm, during the play test game.
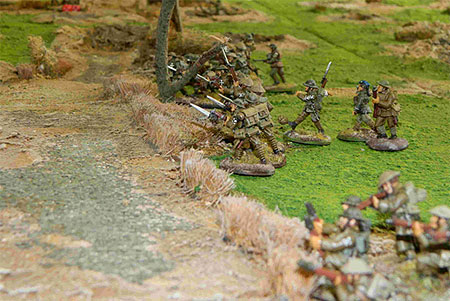
The British reach Old Kent Road, during the play test.
So there we have it: how we built a small piece of the Western Front.
As mentioned previously, this will be on display at our annual show, on the 9th June 2012, and we will be pleased to welcome anyone wanting to join in with our game of ‘Mud and Blood’. Please stop by and say hello.
